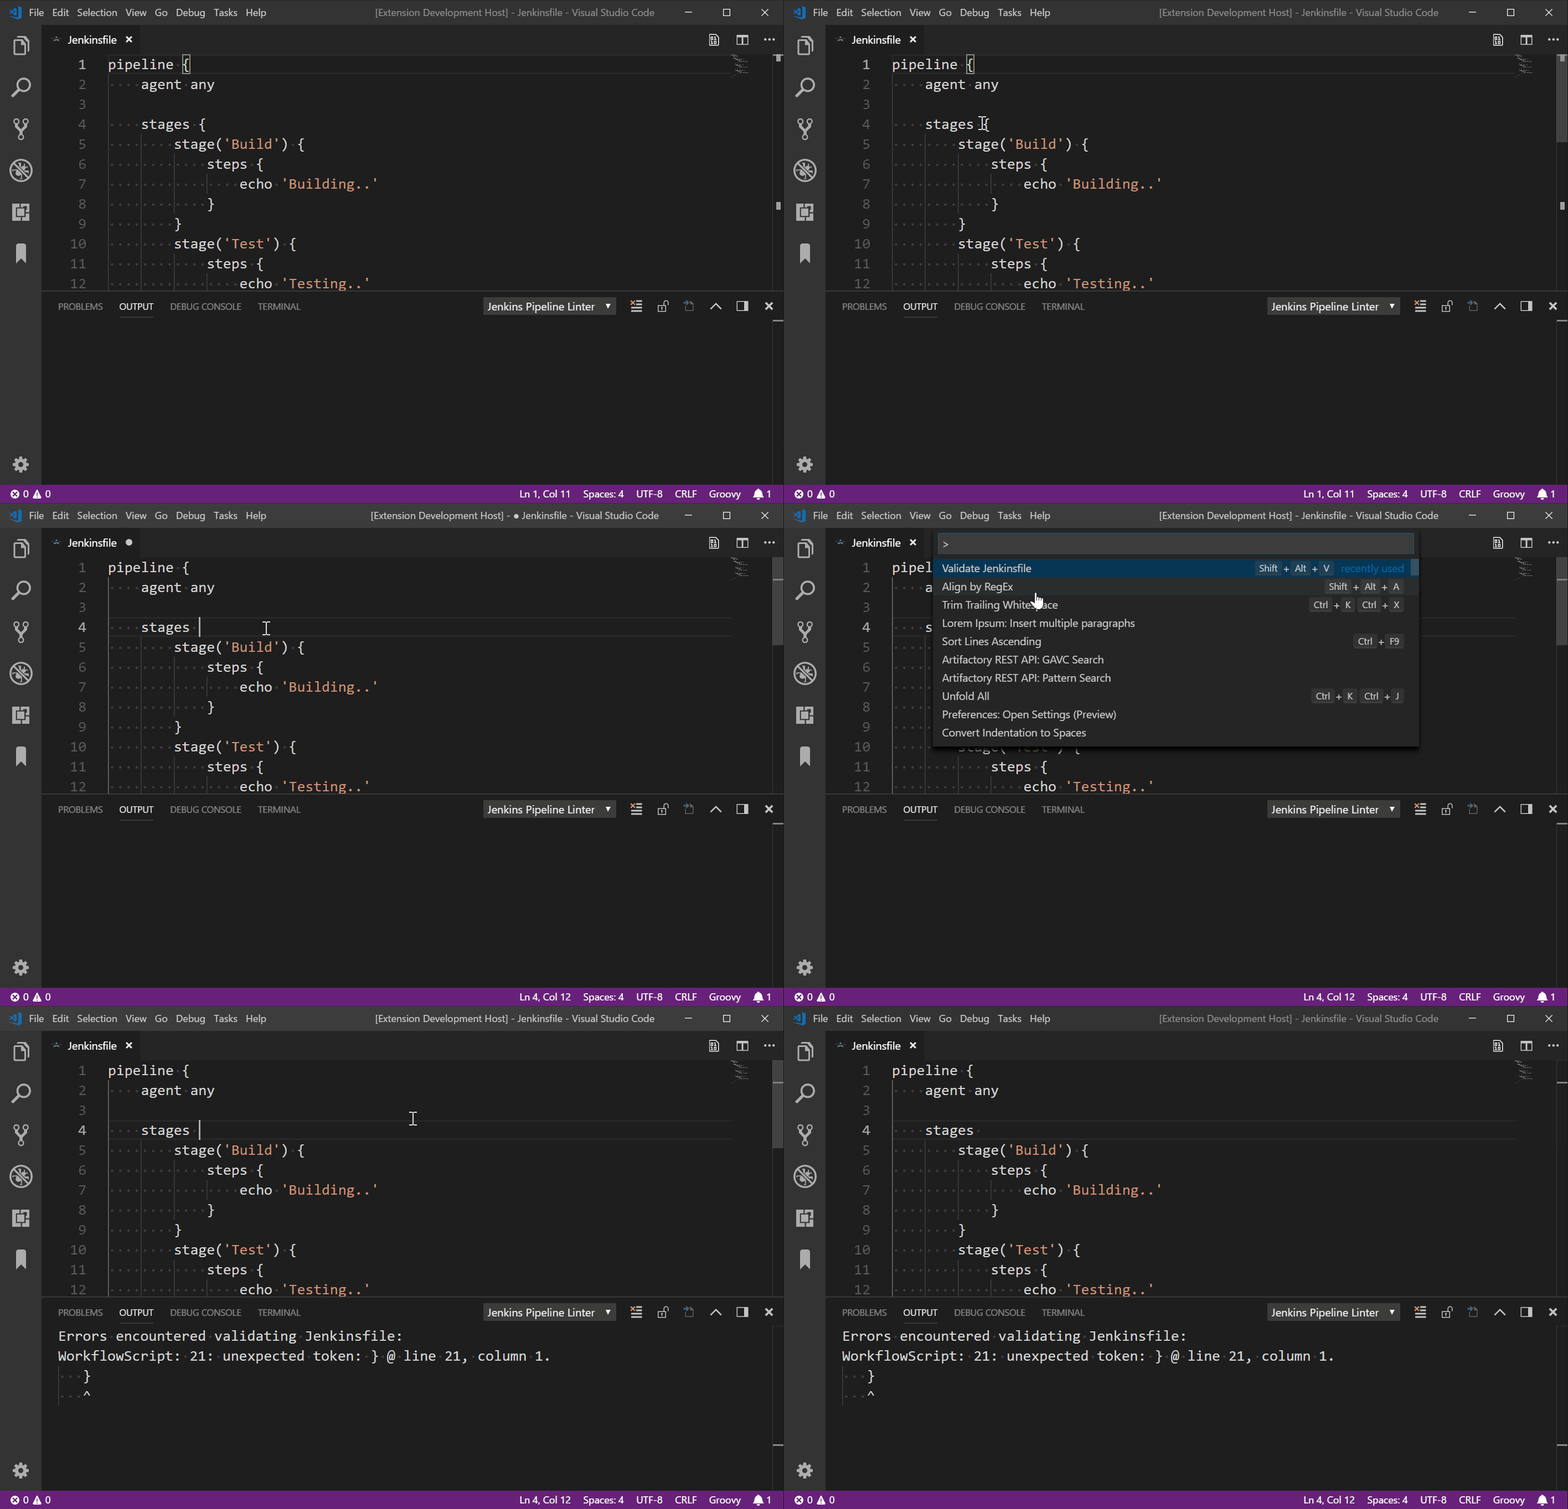
Validate your Jenkinsfile from within VS Code
In my daily work I often have to create or modify Jenkinsfiles and more often than I would like, I make mistakes. It is a very tedious workflow when you make a change to your Jenkinsfile, create a commit, push the commit and wait for your Jenkins Server to tell you, that you have missed a bracket.
The Command-line Pipeline Linter does a great job of reducing the turnaround times when writing a Jenkinsfile, but its usage has its own inconveniences. You need tools like curl or ssh to make a connection to your Jenkins Server and you need to remember the correct command to validate your Jenkinsfile. I still did not like the solution.
As VS Code is my daily driver, I started to look at writing extensions for it and out of it came a little extension which makes validating Jenkinsfiles just a little bit more comfortable.
What the 'Jenkins Pipeline Linter Connector' does is, that it takes the file that you have currently opened, pushes it to your Jenkins Server and displays the validation result in VS Code.


You can find the extension from within the VS Code extension browser or at the following url: https://marketplace.visualstudio.com/items?itemName=janjoerke.jenkins-pipeline-linter-connector
The extension adds four settings entries to VS Code which you have to use to configure the Jenkins Server you want to use for validation.
-
jenkins.pipeline.linter.connector.urlis the endpoint at which your Jenkins Server expects the POST request, containing your Jenkinsfile which you want to validate. Typically this points to http://<your_jenkins_server:port>/pipeline-model-converter/validate. -
jenkins.pipeline.linter.connector.userallows you to specify your Jenkins username. -
jenkins.pipeline.linter.connector.passallows you to specify your Jenkins password. -
jenkins.pipeline.linter.connector.crumbUrlhas to be specified if your Jenkins Server has CRSF protection enabled. Typically this points to http://<your_jenkins_server:port>/crumbIssuer/api/xml?xpath=concat(//crumbRequestField,%22:%22,//crumb).