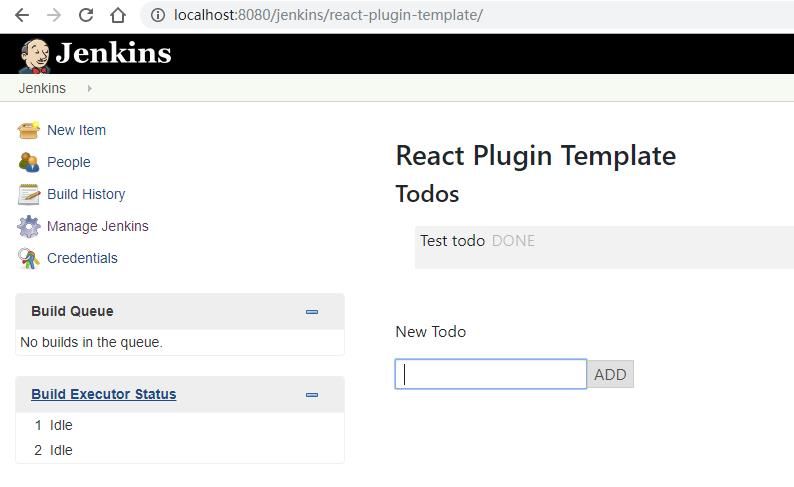
Introduce React Plugin Template
The template’s main repo is at React Plugin Template
This template is part of the project Working Hours UI Improvement during
Google Summer of Code 2019, which improved the UI of Working Hours Plugin using this pattern to develop Jenkins plugins with React. The Working Hours Plugin repository can be found at Working Hours Plugin.
Overview
Developing plugin for Jenkins has always been easy to do with its Jelly based UI render system, but Jelly seems to be pretty heavy when we want to use more modernized frameworks like React, or if we need to make the plugin UI more customized. This is what this template is built for.
And with React integrated, development of Jenkins plugin is more modernized, developer can now use tons of React libraries, the way to use libraries is now tinier and safer with webpack, in short, coding with Jenkins plugin can be much easier.
Features
| Feature | Summary |
|---|---|
React Integrated |
React is integrated, you can take full control of the UI |
Using Iframe |
Using iframe can create a new javascript env, we can get rid of some side effects of some polyfills which was added globally.(such as Prototype.js) |
Maven Lifecycle |
npm commands are integrated into Maven lifecycle with help of Frontend Maven Plugin |
Webpack |
Webpack helps us reduce the size of the bundle, also avoids pollution on the global namespace. |
Jenkins Crumb attached |
Crumb is attached to Axios client, now you can send requests in the way you used to do in React. |
Express as devserver |
You can run your react app in a standalone page so you can develop in webpack hot reload mode, also with webpack proxy, the standalone app is still accessible to the jenkins dev server. |
Axios as http client |
Axios hugely simplify the way to make requests. |
Getting Started
Clone the repo:
git clone https://github.com/jenkinsci/react-plugin-template.git
cd react-plugin-template
Install the Maven dependencies and node modules.
mvn install -DskipTestsRun standalone React app with hot reload
npm run startRun plugin
mvn hpi:run -Dskip.npm -f pom.xmlSend HTTP requests
As Crumb Issuer is default enabled in Jenkins and each ajax request is required to contain a Jenkins Crumb in request header, so be sure to use the axiosInstance which is already set up with Jenkins Crumb and exported at src/main/react/app/api.js.
export const apiGetData = () => {
  return axiosInstance.post("/data");
};
Or if you want to use your own http client, remember to add the Jenkins Crumb to your request’s header, the Crumb’s key and content could be found at src/main/react/app/utils/urlConfig.js, then you can set the header like below.
const headers = {};
const crumbHeaderName = UrlConfig.getCrumbHeaderName();

if (crumbHeaderName) {
  headers[crumbHeaderName] = UrlConfig.getCrumbToken();
}
Write your own request handler
Now you can customize your request pattern as you want, also we need to write a handler.
Jenkins is using stapler to preprocess the requests, so if you need a request handler. For example and also in this template, you can use an Action class to create a sub-url, and then a StaplerProxy to proxy the request like a router. More info about handlers can be found in the Stapler Reference.
Example handler
ManagementLink would get the request and then hand it off to the PluginUI
@Extension
public class PluginManagementLink extends ManagementLink implements StaplerProxy {

    PluginUI webapp;

    public Object getTarget() {
        return webapp;
    }

    public String getUrlName() {
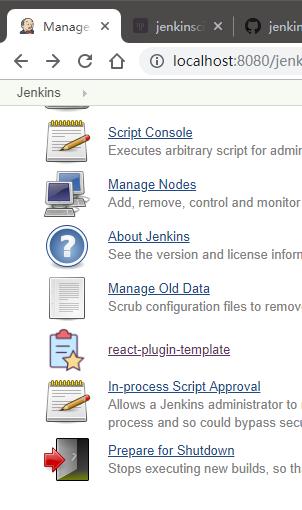
        return "react-plugin-template";
    }
}PluginUI, stapler would then find methods in the target class, in this case, it finds doDynamic, then we can choose the next handler by return the methods result, in this case, getTodos or setTodos, and PluginUI just function like a url router.
public class PluginUI{
    public HttpResponse doDynamic(StaplerRequest request) {
        ...

        List<String> params = getRequestParams(request);

        switch (params.get(0)) {
        case "get-todos":
            return getTodos();
        case "set-todos":
            return setTodos(request);
        }
        ...
    }
}
Data Persistence
You can save your data with a descriptor
@Extension
public class PluginConfig extends Descriptor<PluginConfig> implements Describable<PluginConfig>
And after each time you change data, call save() to persist them.
    public void setTodos(
            @CheckForNull List<Todo> value) {
        this.todos = value;
        save();
    }
And in your handler, you can get the config class by calling
config = ExtensionList.lookup(PluginConfig.class).get(0);Customize your plugin
Be sure to modify all the occurrence of react-template
-
At
org/jenkinsci/plugins/reactplugintemplate/PluginUI/index.jelly, change the iframe’s id and its source url. -
At
src/main/react/app/utils/urlConfig.jschange -
At
src/main/react/server/config.js, change the proxy route. -
At
src/main/react/package.json, change the start script’s BASE_URL -
At
pom.xml, change the artifactId -
At
org/jenkinsci/plugins/reactplugintemplate/PluginManagementLink.java, change names.
Also use the same value to modify the occurrence in src\main\react\app\utils\urlConfig.js.
How does this template work?
This template is putting a webpack project inside a Maven project, and this template is just chaining the build result by copy the webpack output to the plugin’s webapp folder to make it accessible from the iframe, then Jelly render the iframe and the client gets the Plugin UI.
Why iframe?
Over time, Jenkins has added a lot of various javascript libraries to every regular page, which now causes problems for using modern Javascript tooling and as such, we decided to inline the new react based pages in their own sandbox which prevents collisions with other libraries, and maybe the iframe is a good sandbox case.

